Connecting Your Organization to Github Classroom
The most basic way to use github in your classroom is to connect your organization to Github Classroom.
- Go to the Github Classroom Main Page.
- Click Sign in
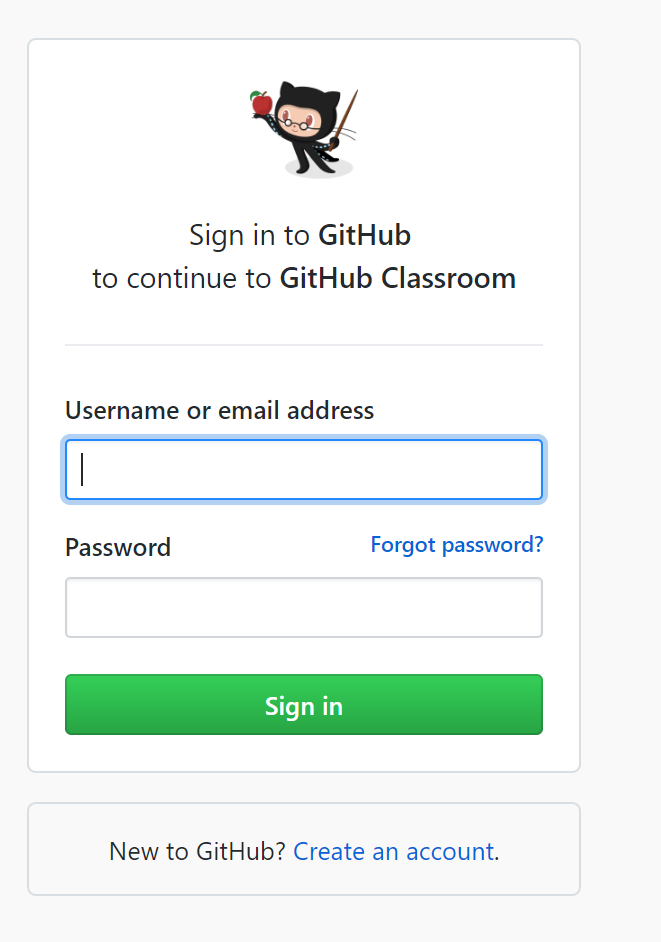
- Fill in your Github username and password:
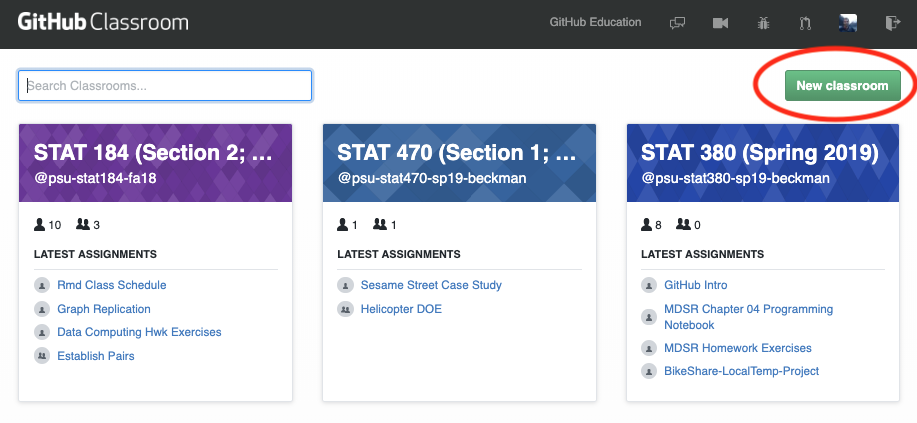
Create New Classroom:
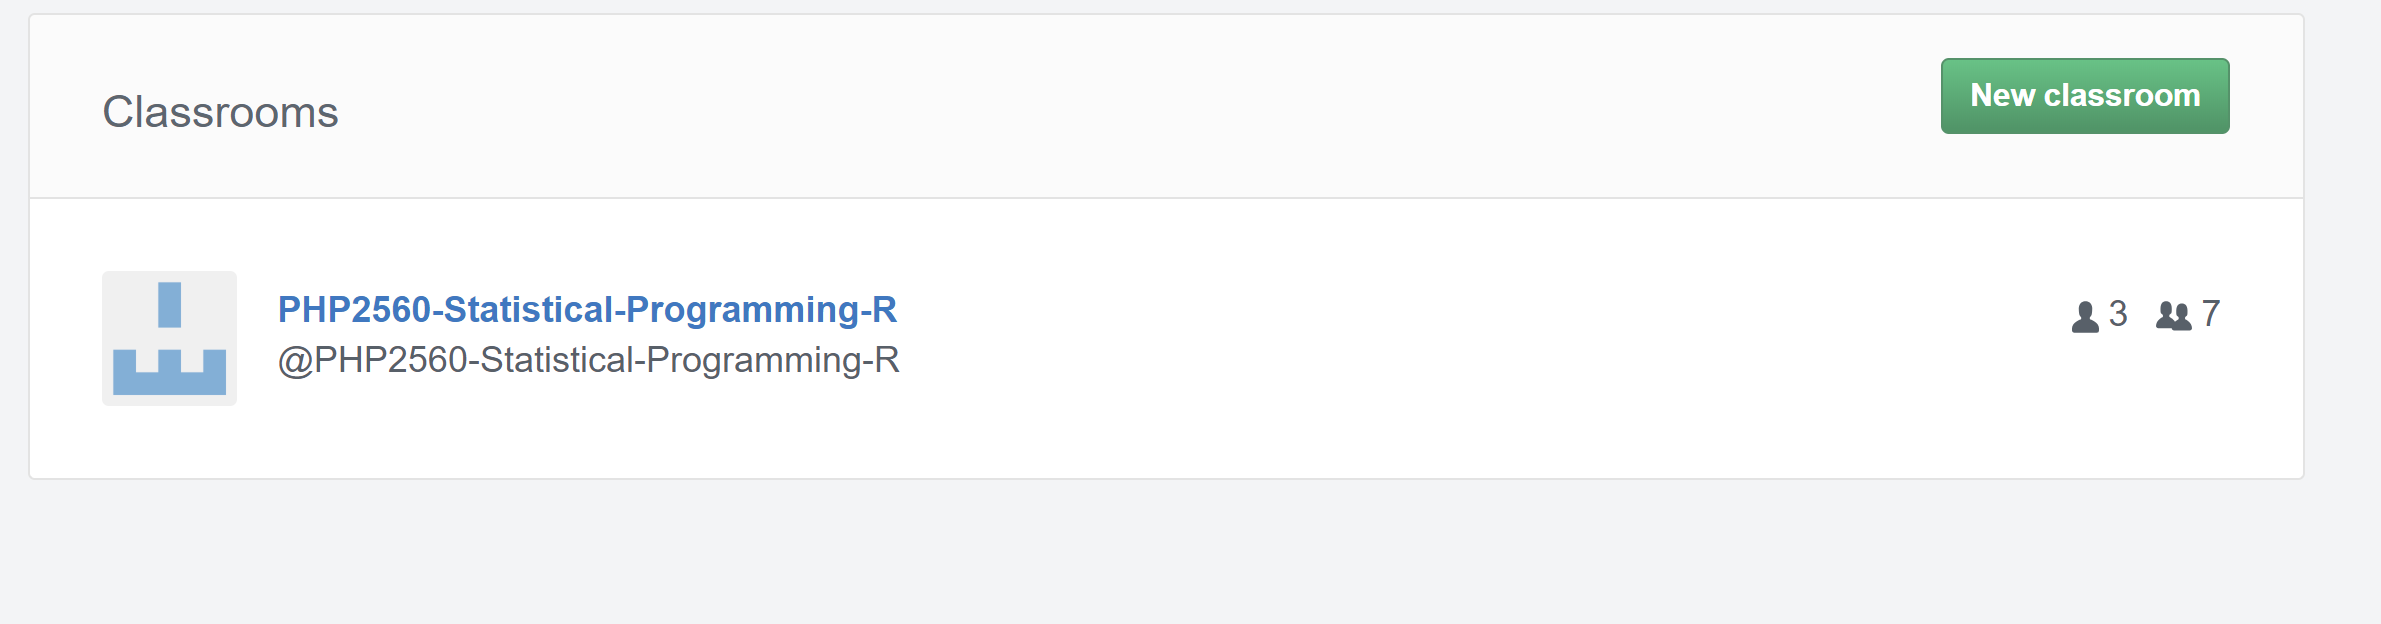
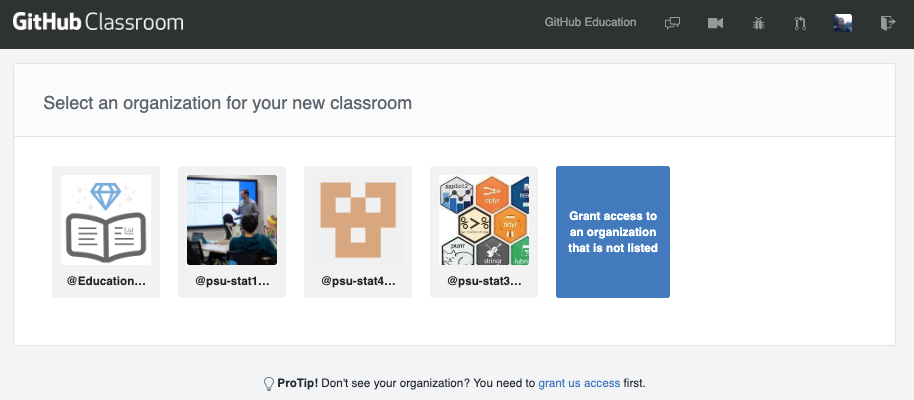
Click on your Organization / Grant Access to your Organization:
- For this one, if you played with some settings for your organization you may see it in the available list. In not click the tile that says Grant Access to your Organization.
- Scroll down to find your organization and click the Grant Button.

- Go back to Github Classroom and Refresh Page.
- For this one, if you played with some settings for your organization you may see it in the available list. In not click the tile that says Grant Access to your Organization.
Grant GitHub Classroom access to the GitHub organization created previously
- The organizations shown (if any) have already been configured for access from GitHub Classroom
- Newly initiated organizations will not populate on the list yet
- Choose “Grand access to an organization that is not listed”
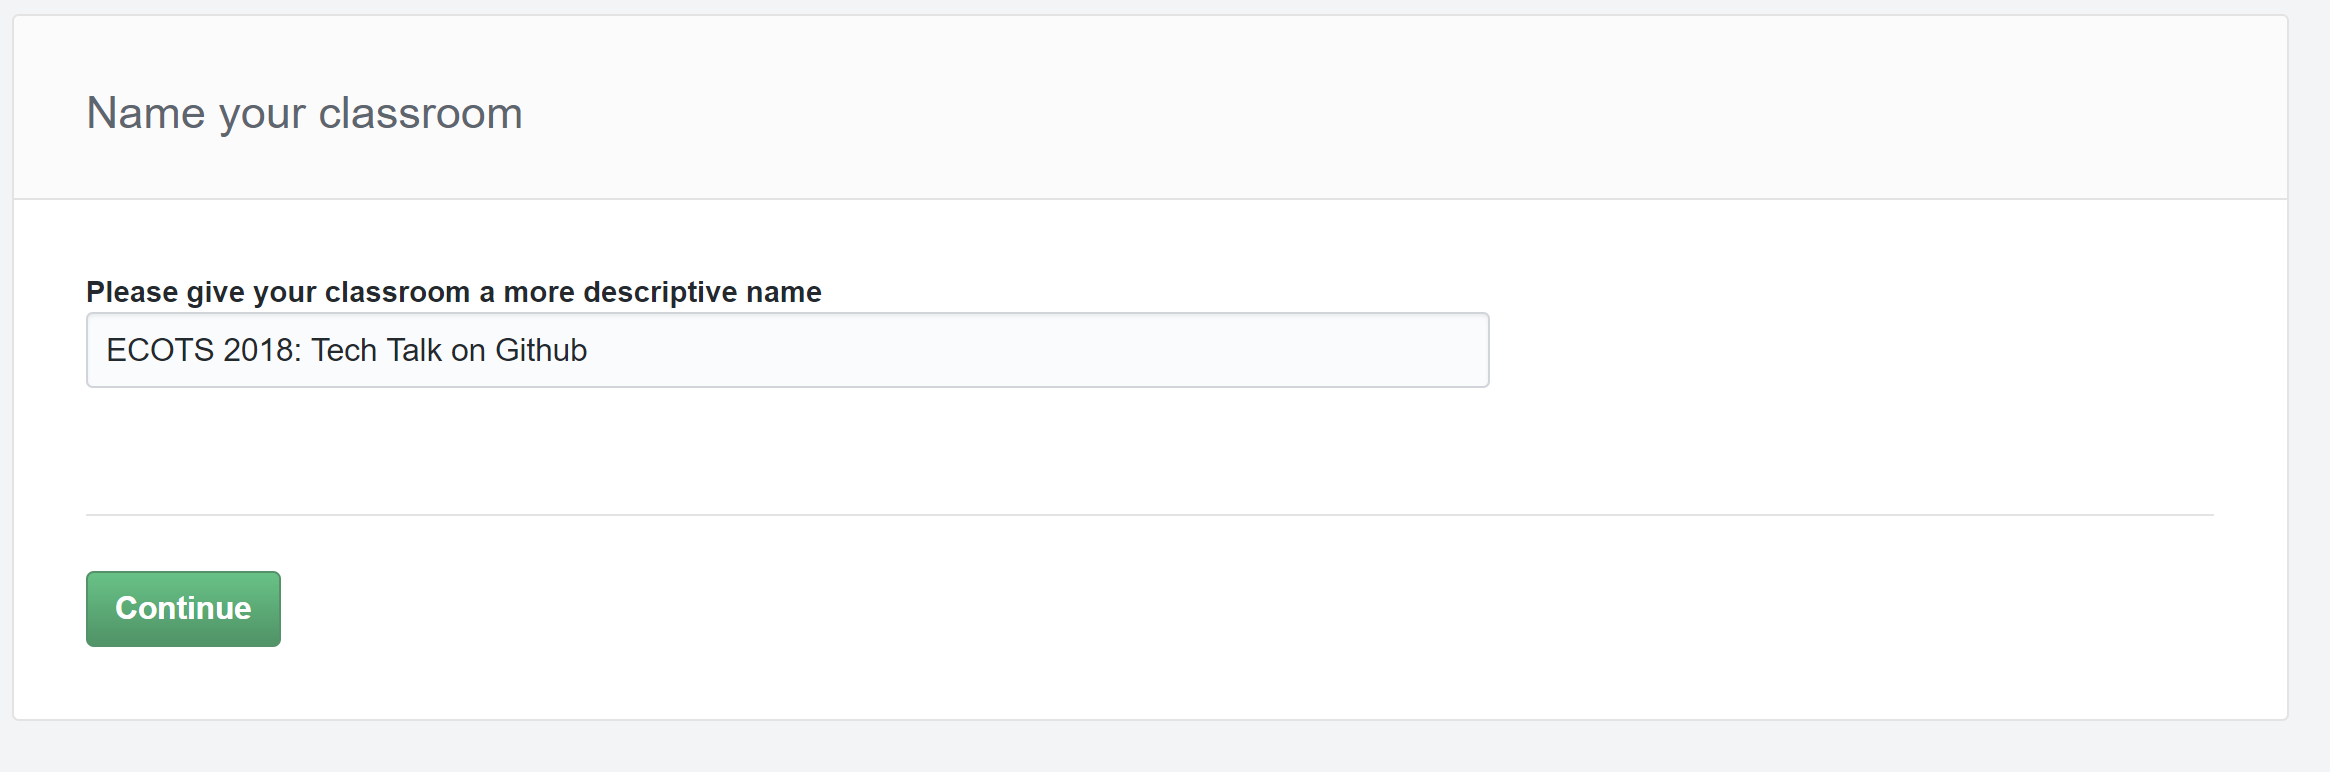
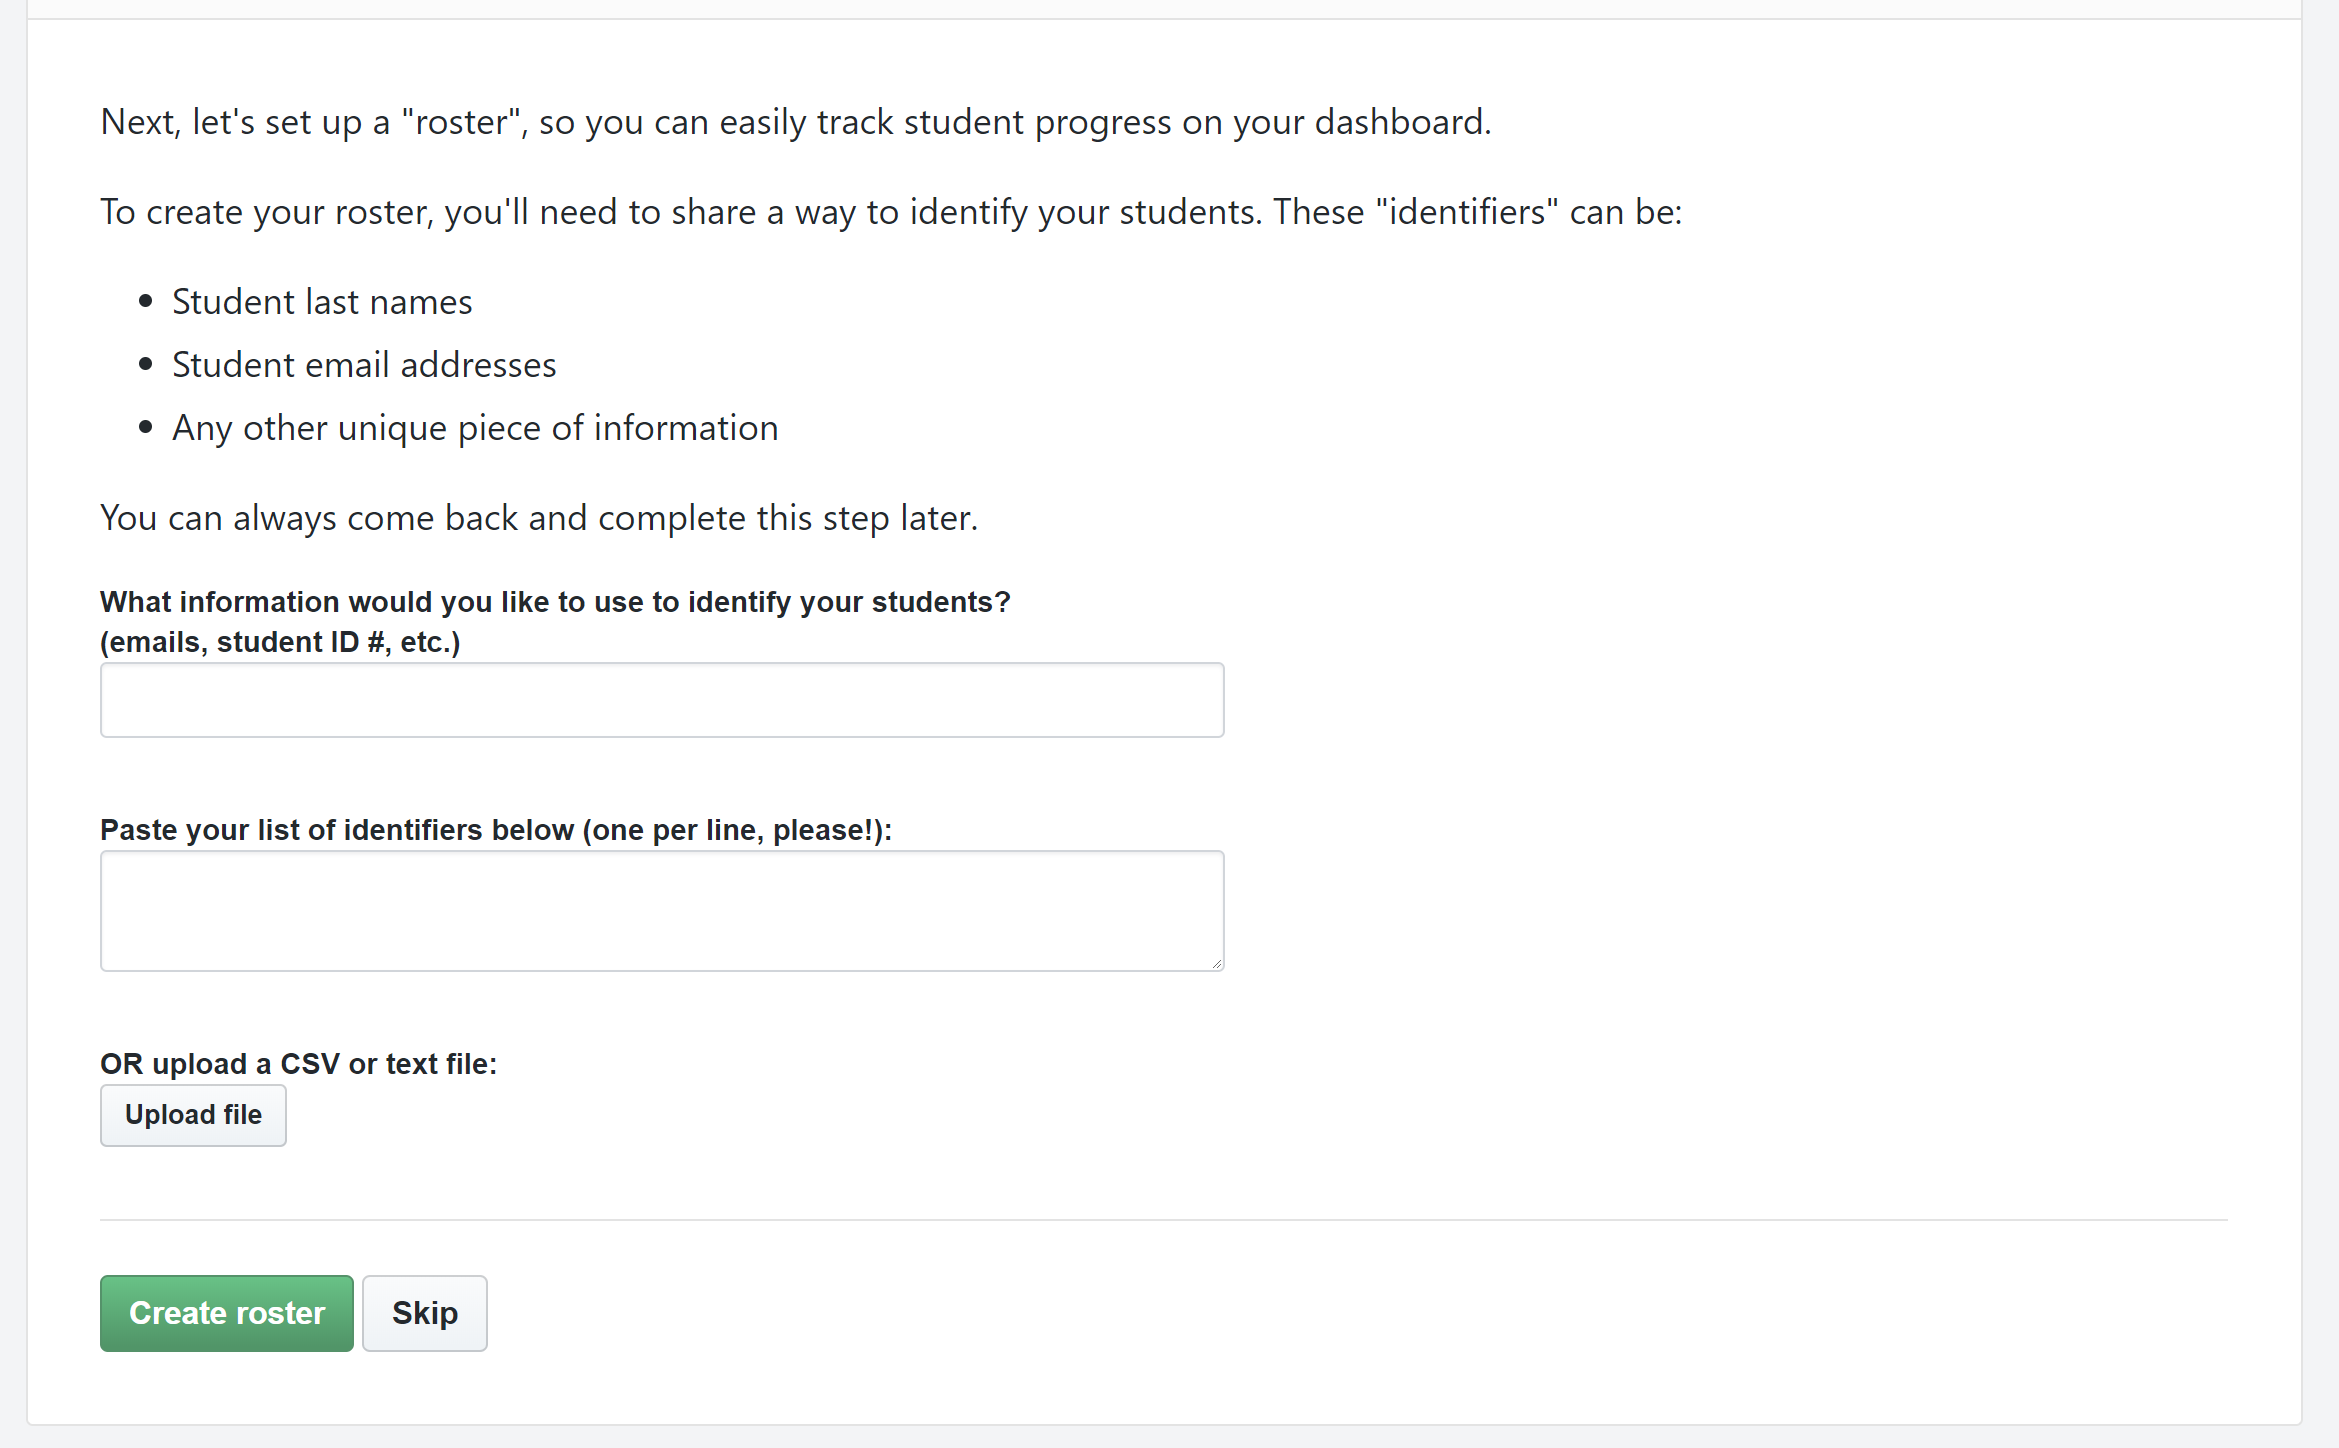
- Add the Title of your course:
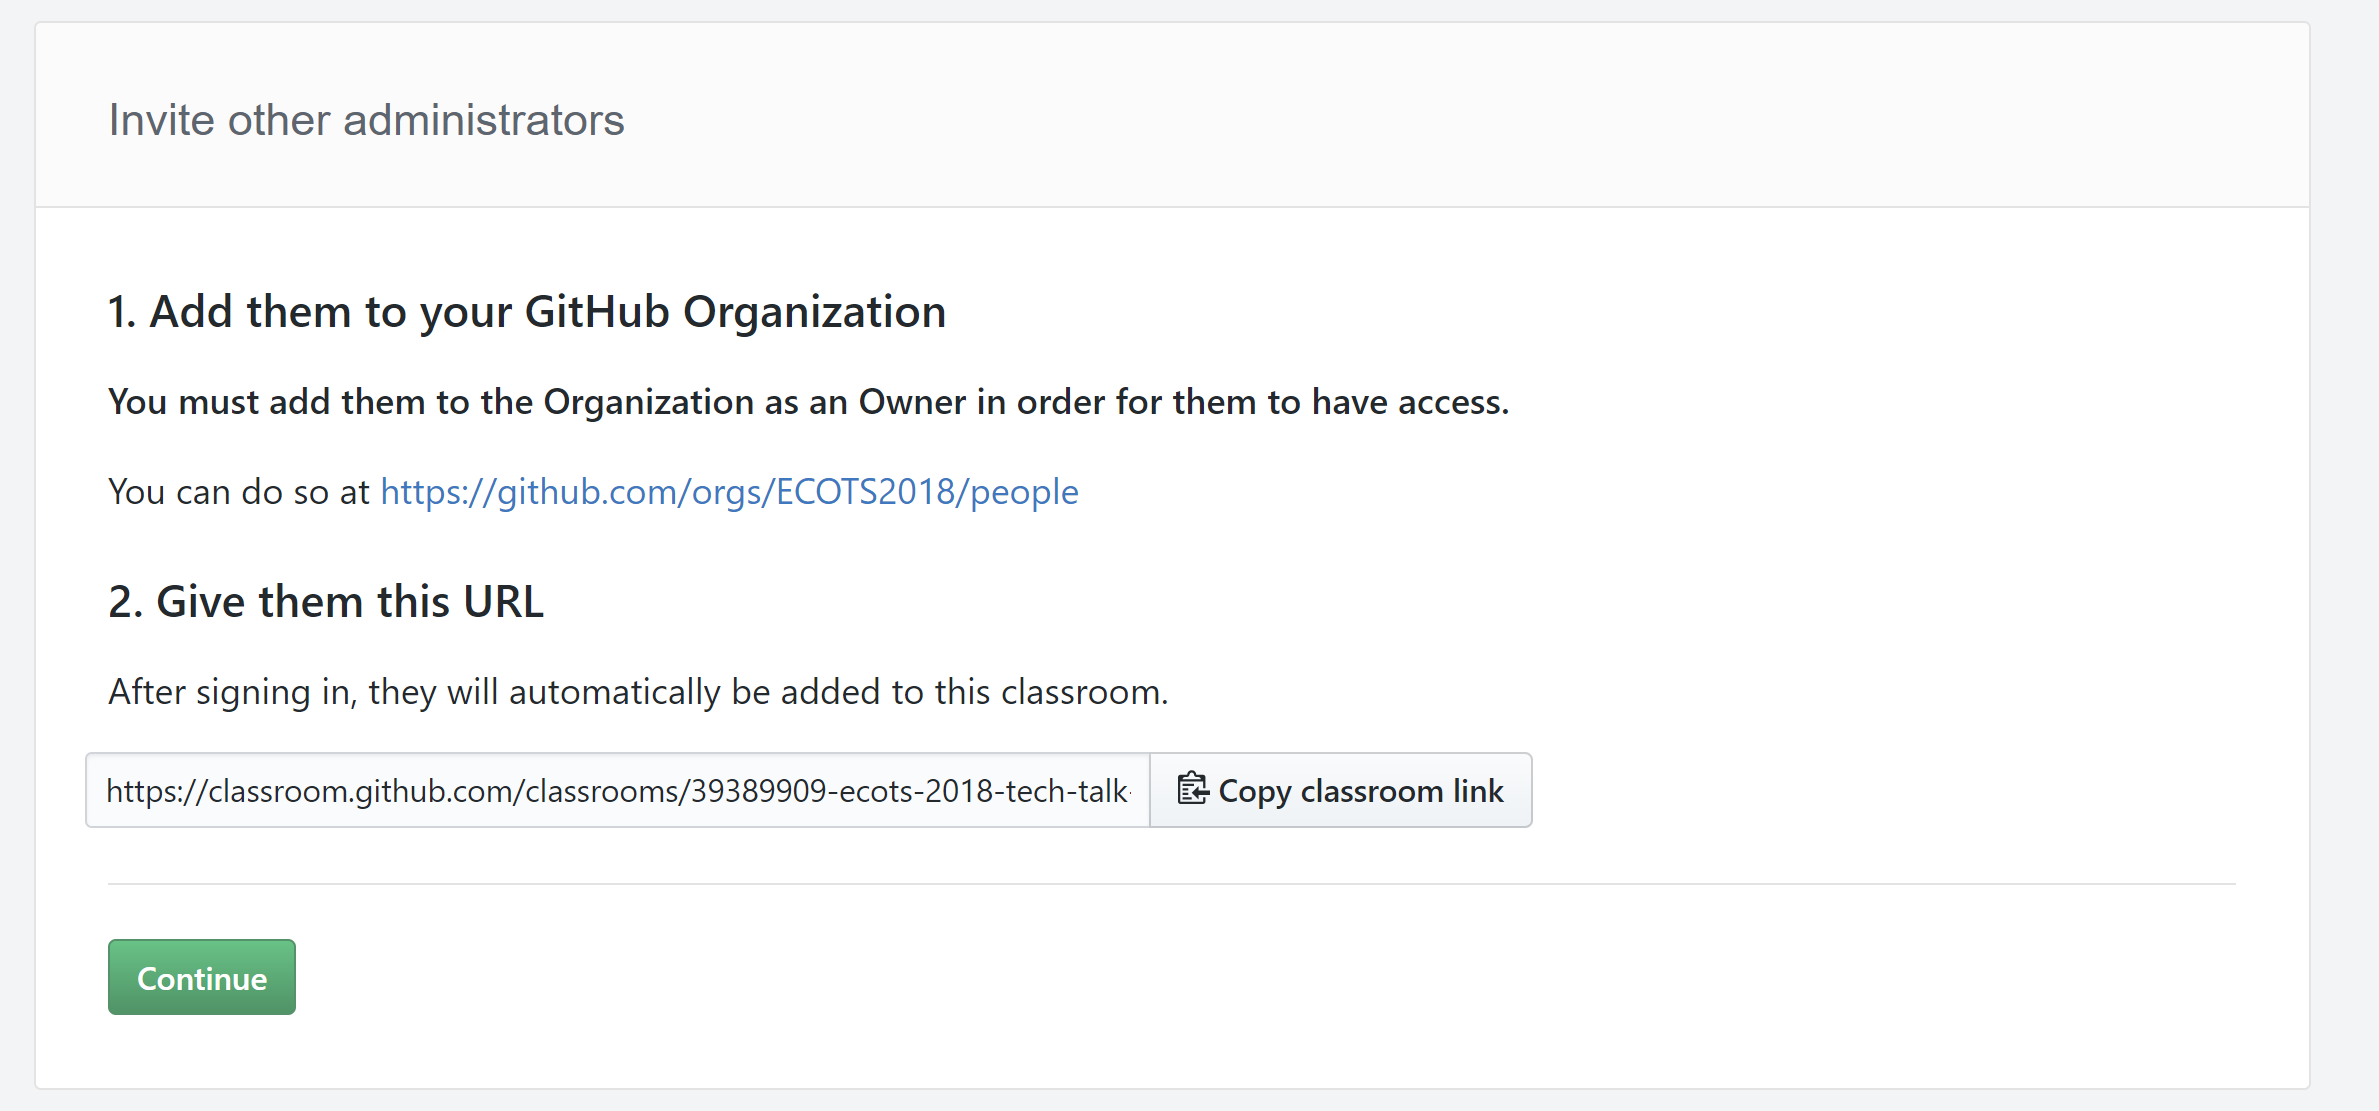
- (Optional) Add other administrators if needed (Co-Instructors / Teaching Assistants/ Etc)
- (Optional) Add student identifiers (names, emails, id #‘2, …)
(Recommended) GitHub Education Benefits
- Initiate GitHub Education Benefits
- unlimited private repositories
- unlimited collaborators (students)
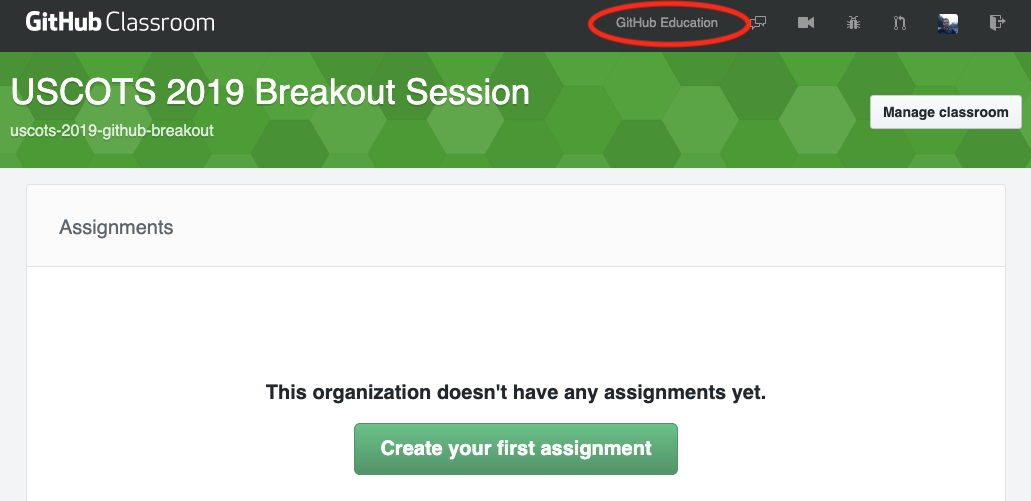
- click the (well camouflaged) link or Internet search “github education”
- https://education.github.com
- Apply for GitHub Education Benefits
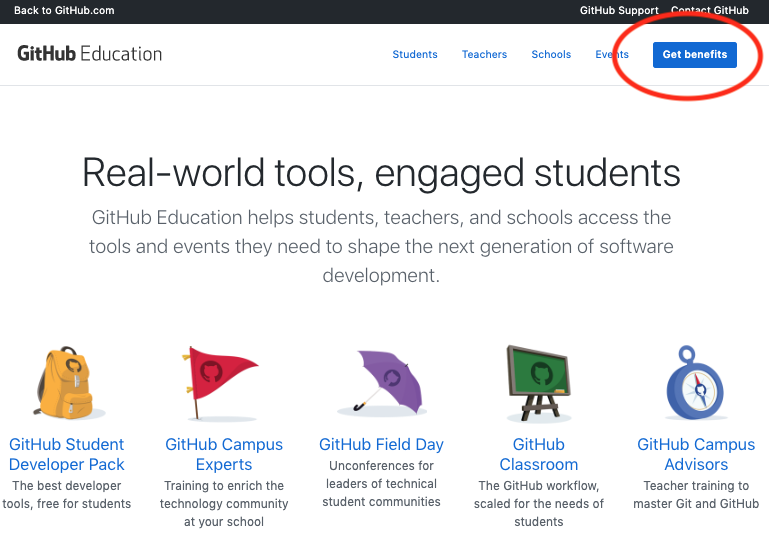
- Apply for GitHub Education Benefits
- Follow prompts to identify the github organization and describe your use
- You may need to show proof of academic status (e.g., upload photo of institution ID)
- verification of faculty status may take a few business days
- verification retained to expedite future requests
- Upgrade your organization once you are verified as faculty

Watch the Above Steps