Creating a Github Organization
Github allows for users to set up organizations where you can place material without it being all in your own github repository. This allows for some nice functionality:
- Separates out personal content from your organization or class materials.
- Allows for additional administrators to have full access to repos.
- Allows for easy transfer of ownership.
How do we create one?
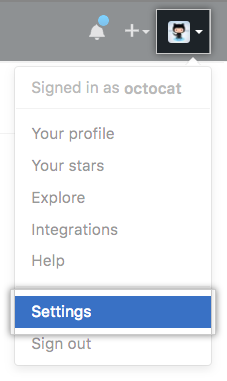
- In the upper-right corner of any page, click your profile photo, then click Settings.
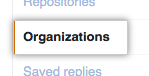
- In your user settings sidebar, click Organizations.
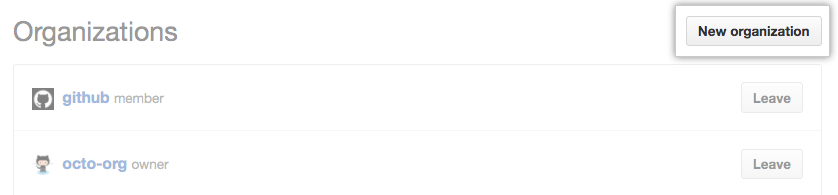
- In the “Organizations” section, click New organization.
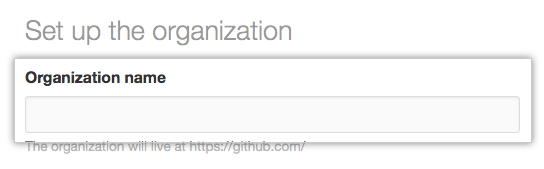
- Under “Organization name”, type a name for your organization.
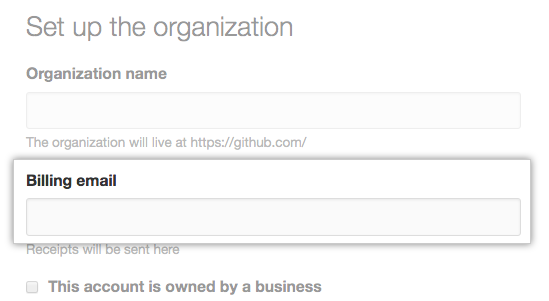
- Under “Billing email”, type the email where receipts for your organization’s paid plan should be sent.
- Under “Choose your plan”, select a billing plan. (For most courses this is free).
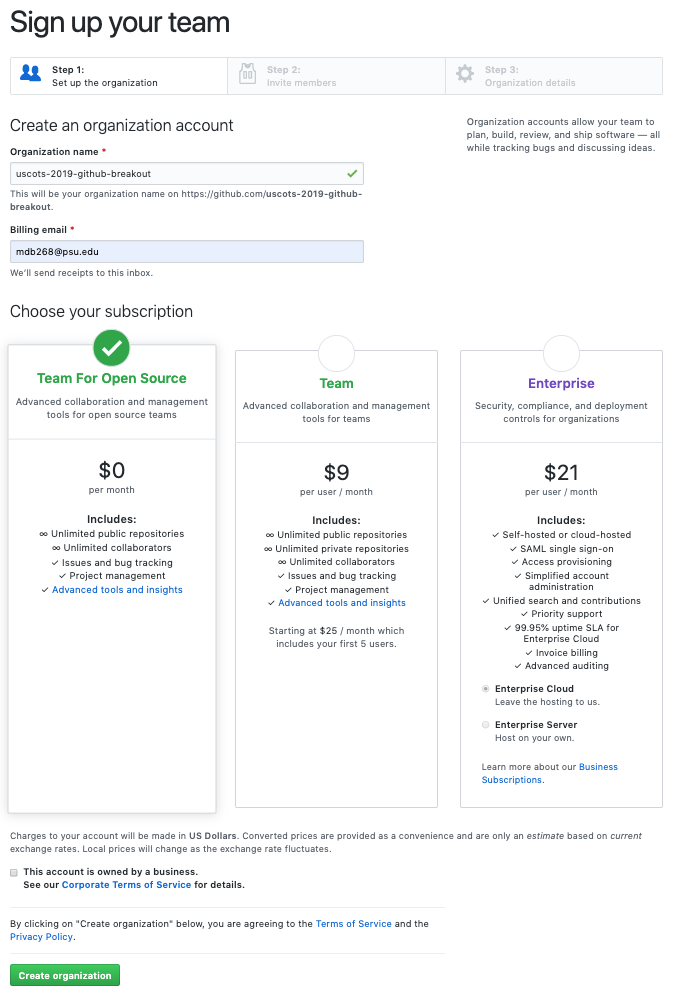
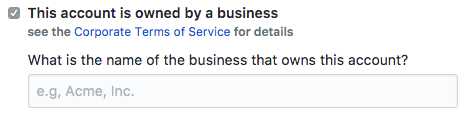
- Optionally, if your organization account is owned by a business, select This account is owned by a business, then type your company’s name.
- Skip the prompt to “invite members” to your organization (select “Continue”)
- students will NOT be “members” of the organization
- students will become “outside collaborators” when later added through GitHub Classroom
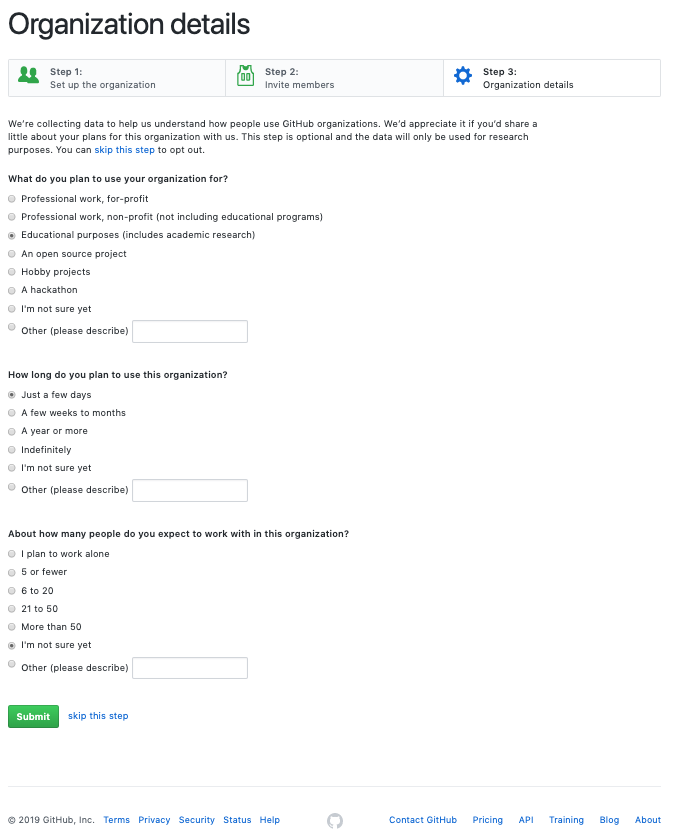
.png)
- Populate organization details
- mark that the organization is for educational use
- mark length of time for your class
- mark number of users (class enrollment)
- Read the information about GitHub’s Terms of Service and Privacy Policy, then click Create organization.
Watch the Above Steps